TL;DR


Unity
Ultimately I want to use the library in Unity at run-time so it needed to be C#, but not too new even though Unity 2017 is now out and kind of has support for C# 6.0.SkiaSharp
To test that I could read the files in correctly I thought it would be useful to render them to PNGs and also SVGs. That's where Xamarin's SkiaSharp wrapper for Google's Skia cross platform 2D rendering engine would come in handy. It's like Windows GDI done right and also has a backend for rendering directly to SVG files using the same draw commands. Perfect.SharpShell
I realized that if I could render a PNG file I could also render a thumbnail easily and I knew of the SharpShell open source project that enables Windows Explorer Shell Extensions to be written in C#.This seemed to be a perfect weekend sized project that would give me a milestone to hit before moving on to the end game of making something voxel based in Unity.
Rendering Quads
The thumbnails style I wanted was Isometric projection. This also makes the math easier, although not by much. SkiaSharp has an SKMatrix44 class for performing transformations of 3D coordinates but the SKCanvas interface for drawing only expects 2D points so translations all have to be done outside of the actual rendering code.There is no z-buffer when rendering in 2D using as there is in 3D so we have to render the quads in the correct order, back to front, bottom to top.

The three quads for each voxel need to have their color adjusted slightly to give the impression of light coming from a particular direction. I just multiplied the face color by 1.0, 0.9 and 0.8 to get the look I was after. Notice that the quads have a line around the edge. This is due to antialiasing in SkiaSharp rendering. The same problem happens for SVG:

Antialiasing can be disabled for bitmaps/PNG output but not for SVGs currently. Here is the simple lighting with no antialiasing issues:

With the addition of a transparent background the initial rendering was done.
Ambient Occlusion
Although the lighting gives some impression of depth it can be made more realistic with some simple vertex coloring, as is done in games like Minecraft. I found this excellent algorithm on how do this. Here is the graphic that explains the 4 cases of local occlusion that need to be handled:
Adding this to the image gives a much better impression of depth to the images:

To get this we have switch from Quads to Triangles so we can interpolate the color values between all three points in each triangle. Thankfully SKCanvas has a DrawVertices method that does exactly this. However this isn't implemented for SVG so this is the point where the implementations diverge slightly and it also meant I couldn't get ambient occlusion working in SVG for now. Here was the error I got:
skcanvas DrawVertices unsupported operation: drawVertices()
Windows Installer (WiX)
I wanted the project to be as open source as possible but I also wanted users to be able to easily download an installer and it just work. Windows installers are a black art but there is one solution WiX which promises to make this easy and open.I found it to be very open but definitely not easy. The rendering to PNG and SVG took roughly 2 days on and off but the installer took another 3 days of frustrating fails before the final success.
Creating an MSI was relatively painless and I was able to release v1.0.0.2 (don't ask) which worked on two machines I tested it on so I thought I was done.
Then I tested on a third machine a couple of days later and found it didn't work, as in I didn't see any thumbnails. Debugging shell extensions is notoriously difficult, compounded by the fact that the machine I was deploying to didn't have Visual Studio on it so was building on one machine and transferring the installer to the other with more and more diagnostics. This was very painful and I explored lots of potential problems that were red herrings.
RTFM
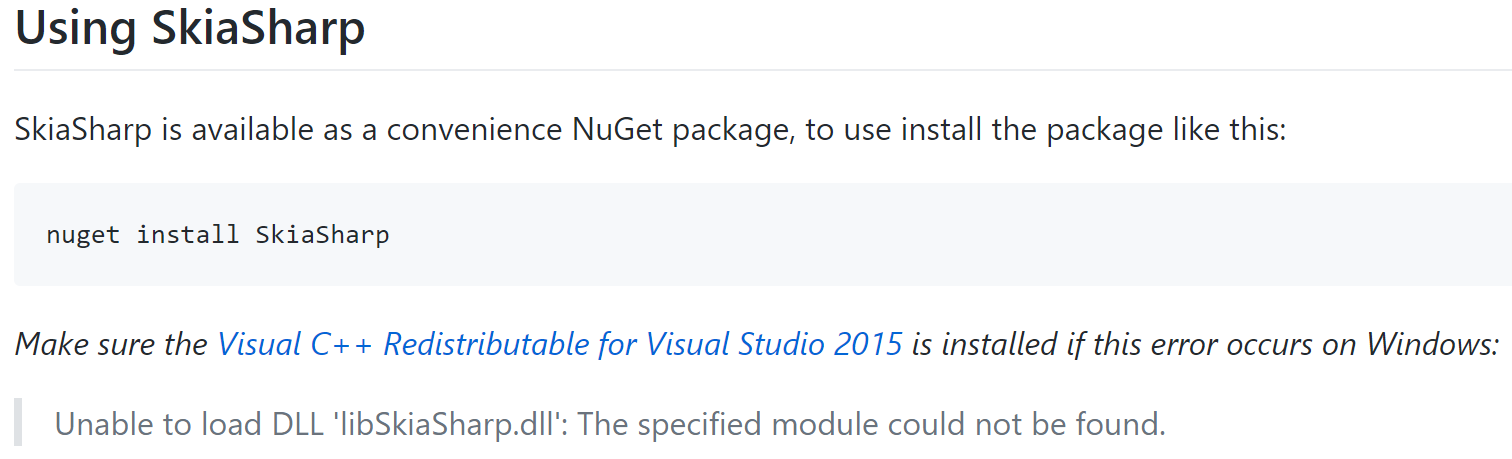
I nearly gave up but then I went back to basics and Read The "Friendly" Manual for SkiaSharp and there it was on the front page, in italics:
Make sure the Visual C++ Redistributable for Visual Studio 2015 is installed
Developers' machines will almost always have this installed already which is why testing should be always be done on non-dev machines (ideally completely fresh), especially installers.
Windows Installer Bootstrapper (WiX)
How hard can this be. It must have been done 1000 times and almost be a built in feature of WiX. How wrong could I be. It used to be easy when it was all about merge modules but Microsoft changed the way the Visual C++ libraries should be redistributed. Where would we be without StackOverflow?
A kind internet citizen put up a gist on github that handled all of the downloading from the internet and installing the vcredist files in x86 and x64 flavors. I humbly copied the arcane mantra into a new WiX Bundle project and with a bit of tweaking, and some option paralysis over which icon to use for the installer, I had a working Voxels.setup.exe (v1.1) file that installed the correct dependencies on my non-dev test machine:


Conclusion
I had fun putting this together and I hope others find it useful when finding their own .vox files on their machine.